Christina & I love watching good films. I’ve managed to build a small but very enjoyable home cinema system. Here are the components that I have:


Christina & I love watching good films. I’ve managed to build a small but very enjoyable home cinema system. Here are the components that I have:


Here are some nice links for you all…
FUNDAMENTALS ——————————————————
Hardware
SOFTWARE PROGRAMMING ——————————————————
General
Modern methodologies
Haskell
Lisp
Java 2 Standard Edition
Java 2 Enterprise Edition
PHP
Python
Ruby
Scheme
Smalltalk
D
PARALLEL COMPUTING ———————————————

People all around the world are at this moment raving about a new technology by Yahoo! called Pipes.
Simon Willison says:
“[It is a n]ew Yahoo! service for combining and remixing Atom/RSS feeds using a really sophisticated drag-and-drop UI.”
I guess it is kind of a portal builder which gets its data from Atom and RSS feeds.
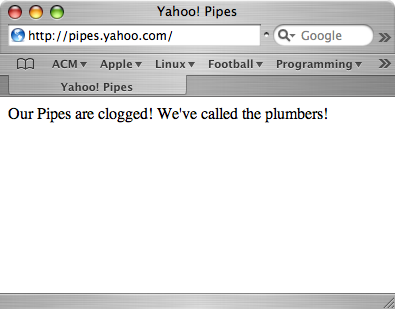
I’ll try it when it bloody works because currently “Our Pipes are clogged! We’ve called the plumbers!”…
;-)
